How to Create 3D Effects in Alight Motion? For Beginners
Create stunning 3D effects in Alight Motion with this step-by-step guide. Learn keyframes, depth, rotation, and pro editing techniques easily today.
Alight Motion is the most widely used mobile video editing and motion graphics software among creators for Instagram Reels, TikTok and YouTube Shorts. A popular editing technique that is in high demand today is the “3D effect” that adds dimension, movement, and a cinematic touch to 2D videos.
While Alight Motion is not a “true” 3D program such as Blender or Cinema 4D, it can create the illusion of 3D using keyframes, layers, transforms and effects. This article will explain the concepts and techniques, from the basics to the more advanced, of how to produce quality 3D animations right on your mobile device.
Understanding 3D Effects in Alight Motion
What 3D Effects Actually Mean
In traditional video editing software, 3D is used to mean an object has a real depth in a 3D environment. But in Alight Motion 3D effects are achieved with illusions.
These illusions are made using:
- Layer positioning
- Rotation on multiple axes
- Perspective distortion
- Depth simulation using scaling and blur
So when creators say “3D effects in Alight Motion,” they usually mean animations that feel like they have depth and spatial movement rather than true 3D rendering.
Types of 3D Effects You Can Create
In Alight Motion, you can create several types of 3D-style animations, such as:
- Parallax scrolling effect where background and foreground move at different speeds
- Rotating text or objects that simulate 3D space
- Depth-based layering that separates elements visually
- Perspective tilt effects that mimic camera angles
- Cinematic transitions using motion and blur
These effects are widely used in social media edits because they make content more engaging and dynamic.
Why 3D Effects Are Important in Video Editing
3D effects are not just visual enhancements; they play a key role in content performance.
Better Audience Engagement
Moving and 3D videos are more engaging than still images. This increases watch time and engagement.
Professional Look
Even basic cuts can appear cinematic with 3D effects. This allows amateur creators to keep up with pro editors.
Social Media Growth
Social platforms such as TikTok and Instagram favor engaging content. Videos with more movement tend to score higher.
For any of the difficulty visit the alight motion guide here.
Tools Required for 3D Effects in Alight Motion
It’s important to be familiar with the tools available before making 3D animations.
Transform Tools
These include:
- X, Y, Z position controls
- Rotation on X, Y, Z axes
- Scale adjustments
These tools control movement and depth.
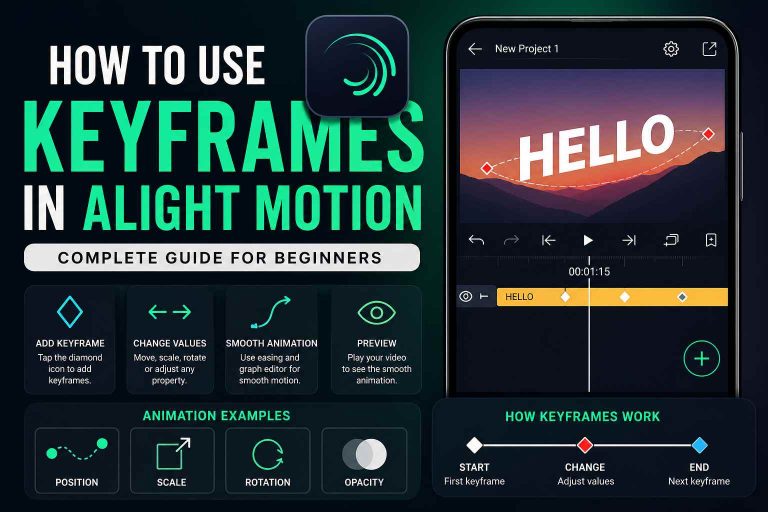
Keyframe System
Keyframes are the basis of animation. They provide a way to define the beginning and ending of a move and the app will fill in the movement in between.
Layer System
Layers help you stack elements such as:
- Background
- Text
- Shapes
- Images
This is essential for creating depth.
Effects Panel
Effects enhance realism using:
- Blur
- Shadow
- Glow
- Color adjustments
Step-by-Step Guide to Create 3D Effects in Alight Motion
Step 1: Create a New Project
Launch Alight Motion and create a project. Choose the resolution as 1080×1920 (for mobile) or 1920×1080 (for wide screen). Set the fps for animation to 30fps or 60fps.
Step 2: Add Media or Elements
Add an image, video or text. If you are new to working with keyframes, use text and shapes because they show the motion and depth changes.
Step 3: Enable Transform Controls
Click on your layer and click the transform button. This includes position and rotation controls.
The Z-axis is particularly important as it gives the appearance of depth by bringing elements forward and backwards.
Step 4: Apply 3D Rotation
Use rotation settings to create movement:
- Rotation X creates vertical flipping
- Rotation Y creates horizontal spinning
- Rotation Z creates tilting motion
For example, rotating an object on the Y-axis gives a realistic spinning card effect that feels three-dimensional.
Step 5: Create Depth Using Layers
Depth is what makes 3D effects believable. Arrange your scene into:
- Background layer (slightly blurred)
- Mid layer (normal focus)
- Foreground layer (sharp focus)
This separation creates a natural depth illusion.
Step 6: Add Perspective and Skew
Skew objects to create a camera angle. Corner pin effects can be used to bend images to simulate tilted surfaces as well.
Step 7: Add Keyframe Animation
Keyframes make it all come alive. Create a first keyframe, go ahead in time, and change properties (such as position, rotation). The app will automatically create an animation.
For example:
- Start rotation at 0 degrees
- End rotation at 360 degrees
This creates a full spinning animation.
Step 8: Enhance with Effects
To make animations more realistic, add visual effects:
- Drop shadow adds depth and separation
- Motion blur creates speed realism
- Glow gives a modern digital look
These small additions significantly improve visual quality.
Step 9: Export Your Video
Once everything is complete, export your video. For best results:
- Use 1080p resolution for social media
- Use 60fps for smooth motion
- Use high bitrate for quality preservation
Advanced 3D Techniques in Alight Motion
Once you understand the basics, you can move to advanced techniques.
Parallax Effect
Create an illusion of depth by moving background and foreground layers at different speeds. It’s a common technique in film editing.
Camera Movement Simulation
Rather than moving objects, pan and zoom on layers to move the camera.
Blending Modes
Apply blending modes such as screen, overlay and multiply to blend layers.
Multi-Layer Animation
Complex motion scenes are made from multiple layers that work independently.
Common Mistakes to Avoid
Many beginners struggle with 3D effects due to small mistakes:
- Overusing rotation and making animations look unnatural
- Ignoring frame rate consistency
- Using too many effects at once
- Poor layer organization
- Not applying easing to keyframes
Avoiding these mistakes instantly improves your video quality.
Pro Tips for Better 3D Animations
- Keep animations subtle instead of extreme
- Always use easing curves for smooth motion
- Study real-world camera movement
- Maintain consistent lighting direction
- Group related layers for better control
- Practice parallax stacking regularly
Conclusion
Knowing how to create 3D effects in Alight Motion is an invaluable tool for vloggers. Although it’s not a 3D program, it enables you to create visually appealing animations with basic features such as keyframes, layers and transforms.
By practising regularly, you can produce high-quality videos that are suitable for social media platforms. You can begin with simple rotations and adding layers of depth, and then progress to more complex effects such as parallax and camera movements. It’s about creativity, not complexity, and control of movement.